To address how to check AC ducts for leaks, inspect joints and connections for visible gaps, use a smoke pencil or incense near duct seams, and feel for air escaping. Check for temperature differences and seal any identified leaks promptly.
Ensuring your AC system operates efficiently is crucial for a comfortable home, and one common culprit for energy wastage is leaky air ducts. Learning “how to check AC ducts for leaks” is a fundamental step for beginners in home maintenance. In this guide, we’ll break down the process, offering simple techniques to identify and address potential leaks in your AC ductwork. By following these steps, you’ll not only enhance the performance of your cooling system but also save on energy costs. Let’s dive into the basics of checking AC ducts for leaks and boost your home’s energy efficiency.
Importance of Well-Maintained AC Ducts
Well-maintained AC ducts play a crucial role in ensuring the efficient and effective functioning of an air conditioning (AC) system. Here are several reasons highlighting the importance of keeping AC ducts in good condition:
1. Energy Efficiency:
Leaks, blockages, or poorly maintained ducts can lead to energy wastage. When the ducts are clean and well-sealed, the air conditioning system can operate more efficiently, reducing energy consumption and lowering utility bills.
2. Air Quality:
Dust, debris, and contaminants can accumulate in ductwork over time. If not cleaned regularly, these pollutants can be circulated throughout the indoor air, leading to poor indoor air quality. Clean ducts contribute to a healthier living or working environment by reducing the risk of respiratory problems and allergies.
3. System Longevity:
Proper maintenance of AC ducts can contribute to the longevity and optimal performance of the entire HVAC (Heating, Ventilation, and Air Conditioning) system. When ducts are clean and free from obstructions, the HVAC system doesn’t have to work as hard, reducing wear and tear on components.
4. Optimal Airflow:
Ducts that are free from blockages and leaks allow for consistent and proper airflow. This ensures that all areas of the building receive the desired level of cooling or heating, preventing uneven temperature distribution.
5. Cost Savings:
Regular maintenance of AC ducts can save money in the long run. By preventing issues such as leaks or blockages, you can avoid costly repairs and improve the overall efficiency of the HVAC system.
6. Comfort:
Properly maintained ducts contribute to a more comfortable indoor environment. Consistent and efficient airflow helps maintain a stable temperature throughout the building, preventing hot or cold spots.
7. Compliance with Regulations:
In some jurisdictions, there may be regulations and standards regarding the cleanliness and maintenance of HVAC systems, including ductwork. Ensuring that your AC ducts meet these standards is important for compliance and may be necessary for business operations.
8. Prevention of Mold Growth:
Moisture in ducts can lead to mold growth, which poses health risks and can damage the ductwork. Regular maintenance, including cleaning and addressing any issues with moisture, helps prevent the growth of mold and other harmful microorganisms.
In summary, well-maintained AC ducts contribute to energy efficiency, indoor air quality, system longevity, and overall comfort. Regular inspections, cleaning, and necessary repairs should be part of a comprehensive HVAC maintenance plan to ensure optimal performance and a healthy indoor environment.
Common Signs of AC Duct Leaks
Ensuring the efficiency of your air conditioning system is crucial for maintaining a comfortable indoor environment. One common issue that can compromise the performance of your AC unit is duct leaks. Understanding how to check AC ducts for leaks is essential in preventing energy wastage and maintaining optimal cooling. Here are ten detailed signs to help you identify potential AC duct leaks in your home.
1. Unexplained Increase in Energy Bills:
A sudden spike in your energy bills without a corresponding increase in usage could indicate the presence of AC duct leaks. When air escapes through leaks, your system works harder to maintain the desired temperature, leading to higher energy consumption.
2. Inconsistent Cooling:
Uneven cooling across different rooms is a clear indication of potential AC duct leaks. If some areas in your home are consistently warmer or colder than others, it suggests that conditioned air is escaping before reaching its intended destination.
3. Dust Buildup Around Vents:
Excessive dust around the air vents could be a sign of AC duct leaks. When leaks are present, dust and debris from the surrounding areas can be drawn into the ducts and circulated throughout your home, leading to poor indoor air quality.
4. Whistling or Hissing Sounds:
Listen for any unusual noises coming from your HVAC system. Whistling or hissing sounds may indicate air escaping through AC duct leaks. Conduct a thorough inspection, especially if these sounds are more pronounced when the system is running.
5. Reduced Airflow:
If you notice a decrease in the airflow coming from your vents, it could be a result of AC duct leaks. Leaks disrupt the smooth flow of air, causing a reduction in the amount of conditioned air reaching your living spaces.
6. Hot or Cold Spots:
Experiencing isolated hot or cold spots in your home suggests that conditioned air is not reaching certain areas due to AC duct leaks. Check rooms for temperature variations to identify potential trouble spots.
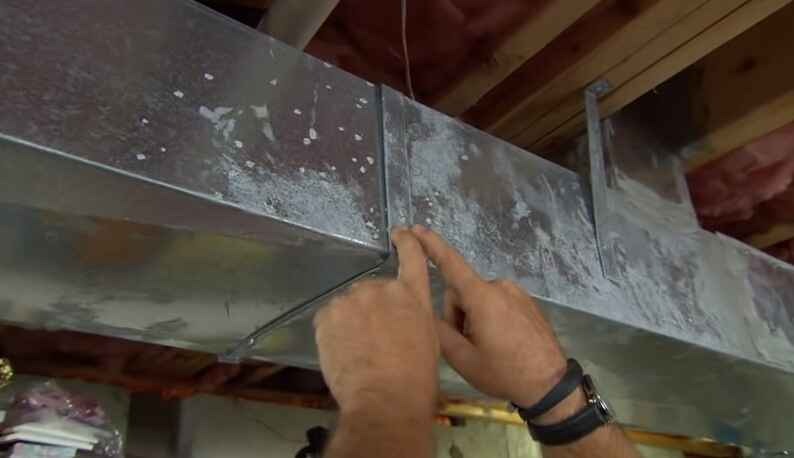
7. Visible Damage to Ductwork:
Inspect the visible sections of your ductwork for any signs of damage or disconnection. Physical damage, such as holes, cracks, or separated joints, can lead to AC duct leaks. Address these issues promptly to restore system efficiency.
8. Mold or Mildew Growth:
AC duct leaks can create a conducive environment for mold and mildew growth. If you notice musty odors or visual signs of mold around the vents or on the walls, it may be an indication that moisture is entering through duct leaks.
9. Condensation on Ducts:
Check for condensation on the surface of your ducts, as it can be a sign of AC duct leaks. Moisture buildup occurs when cooled air escapes, and warm, humid air infiltrates the ducts. Addressing leaks can prevent further condensation-related issues.
10. Age of the Ductwork:
The age of your ductwork can also contribute to AC duct leaks. Over time, ducts may deteriorate, joints may loosen, and seals may weaken. If your ductwork is old, consider a thorough inspection to identify and address potential leaks.
By paying attention to these ten signs, you can proactively address AC duct leaks, saving energy, improving indoor air quality, and extending the lifespan of your air conditioning system.
Step-by-Step Guide to Check AC Ducts for Leaks
Checking your AC ducts for leaks is an important step in maintaining an efficient and effective cooling system. Here’s a step-by-step guide to help you with this process:
Tools and Materials:
1. Flashlight
2. Duct tape
3. Smoke pencil or incense stick
4. Weather stripping
5. UL-listed mastic duct sealant
6. Paintbrush
7. Dust mask
8. Safety glasses
Steps to Check AC Ducts for Leaks:
1. Turn off the HVAC System:
Before you start inspecting the ducts, turn off your heating, ventilation, and air conditioning (HVAC) system. This ensures your safety during the inspection.
2. Locate Your Ductwork:
Identify the locations of your ductwork. This may include spaces like the attic, basement, crawlspaces, and any other areas where the ducts are accessible.
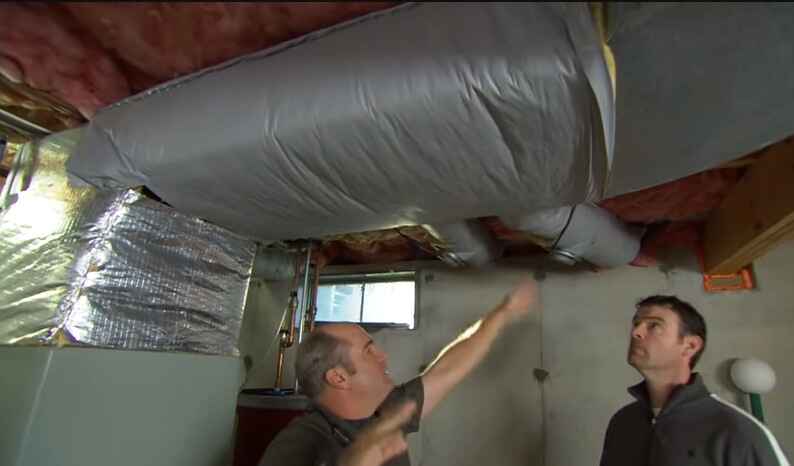
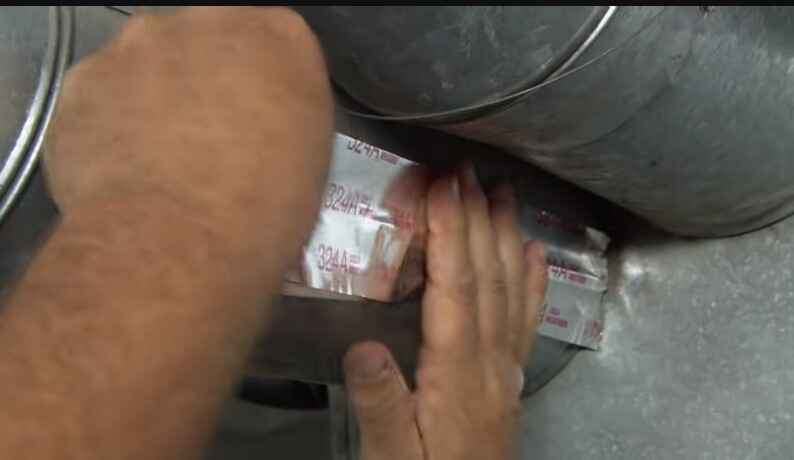
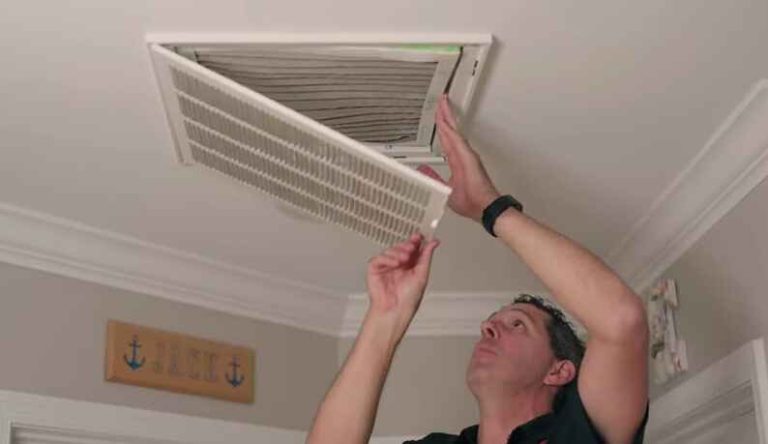
3. Check Visible Ducts:
Inspect visible ducts for obvious signs of damage, such as disconnected joints, visible holes, or gaps. Pay attention to seams, corners, and connections.
4. Feel for Airflow:
Turn on the HVAC system, and use your hand to feel for air escaping from the ducts. Leaks may be felt as drafts around seams or joints.
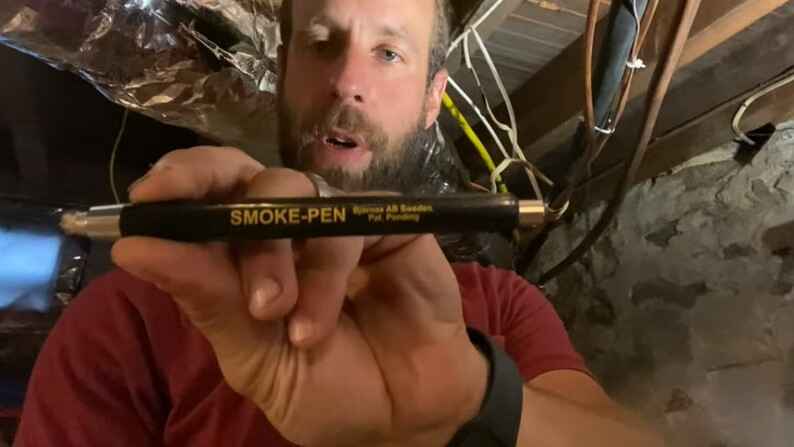
5. Use a Smoke Pencil or Incense Stick:
Turn on the HVAC system and hold a smoke pencil or an incense stick near the seams and joints of the ducts. If there is a leak, you will see the smoke being drawn into the duct.
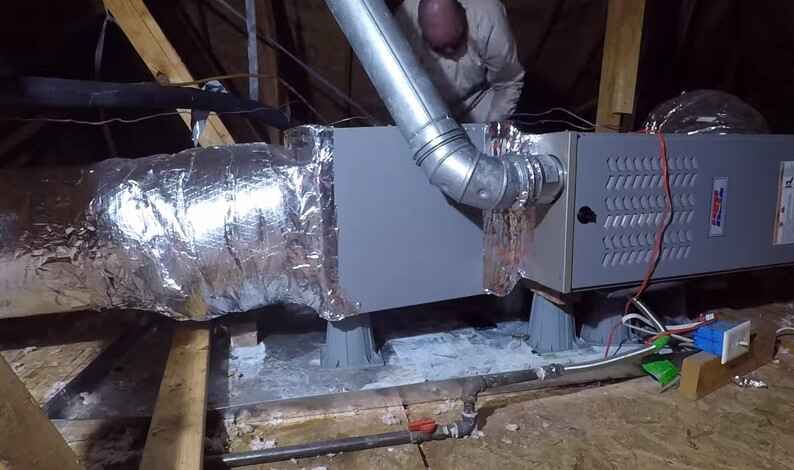
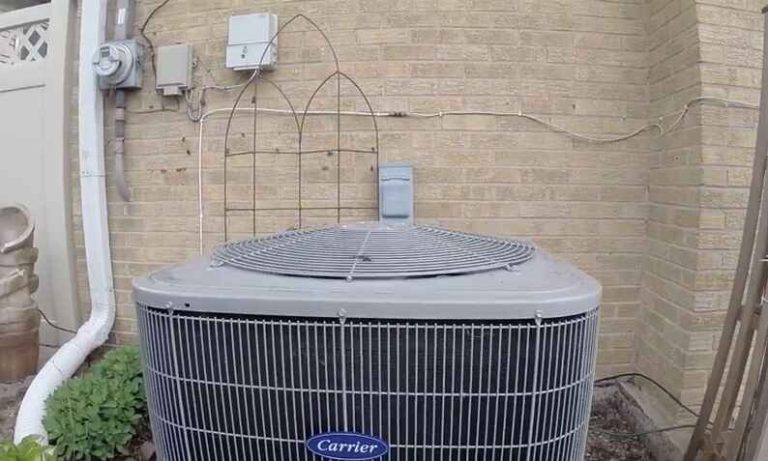
6. Inspect Ducts in Unconditioned Spaces:
If your ducts run through unconditioned spaces like the attic or crawlspaces, inspect them thoroughly. Look for insulation damage, disconnected joints, or visible holes.
7. Check for Duct Tape Failures:
Inspect any duct tape used on joints. Duct tape tends to fail over time, so replace it with UL-listed mastic duct sealant for a more durable solution.
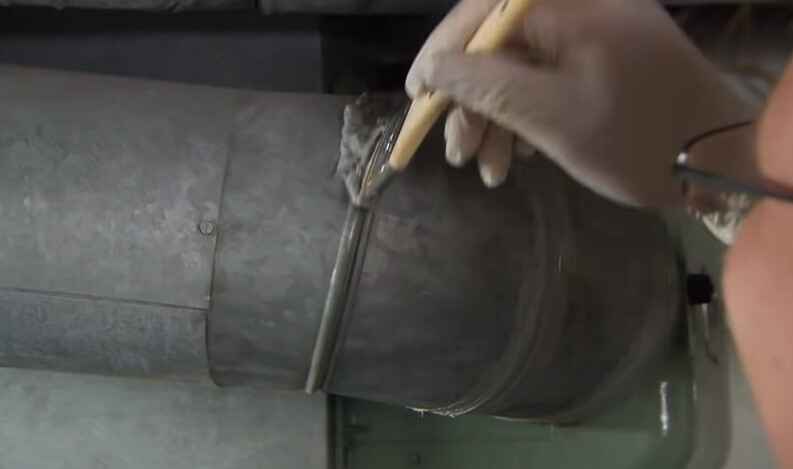
8. Seal Visible Leaks:
Use UL-listed mastic duct sealant to seal any visible leaks. Apply the sealant with a paintbrush, covering seams, joints, and gaps. Ensure that the sealant is applied evenly and covers the entire area of the leak.
9. Insulate Ducts in Unconditioned Spaces:
Insulate ducts in unconditioned spaces using weather stripping or insulation. This helps prevent temperature loss and gain, making your HVAC system more efficient.
10. Consider Professional Inspection:
If you are unable to access all parts of your ductwork or if you suspect significant issues, consider hiring a professional HVAC technician for a thorough inspection and repairs.
Remember to wear a dust mask and safety glasses, especially if you’re working in confined spaces. Regularly checking and sealing duct leaks can improve the efficiency of your HVAC system, reduce energy costs, and enhance the overall comfort of your home.
Conducting a Pressure Test
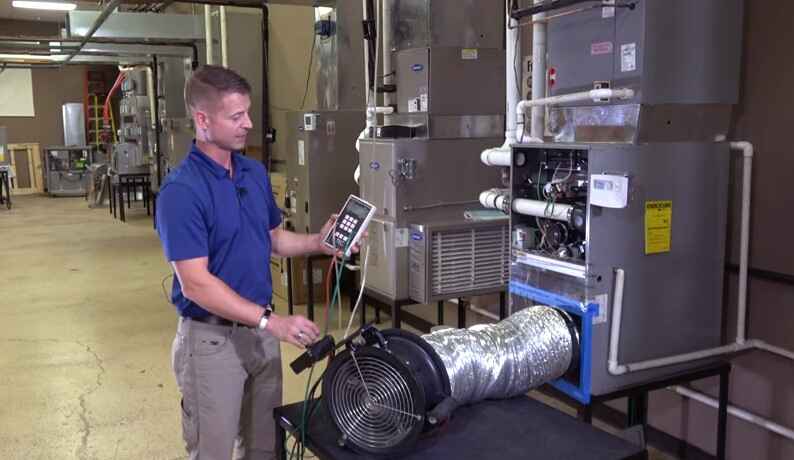
Conducting a pressure test to check for leaks in your air conditioning (AC) ducts is a good way to ensure that your system operates efficiently and that conditioned air is not wasted through leaks. Here’s a general guide on how you can perform a pressure test on AC ducts:
Tools and Materials Needed:
1. Duct Blaster or Fan and Pressure Pan:
A duct blaster is a specialized tool designed for this purpose. It consists of a calibrated fan that pressurizes or depressurizes the duct system.
Alternatively, you can use a blower door fan along with a pressure pan, which is a device placed over each duct outlet to measure pressure.
2. Duct Tape:
Seal off any non-essential openings such as grilles and registers with duct tape.
3. Pressure Gauge:
A manometer or pressure gauge is necessary to measure the pressure within the ducts.
4. Sealant:
Mastic or other approved sealants can be used to seal leaks found during the test.
Steps to Perform the Pressure Test:
1. Seal Off Duct Openings:
Seal off all openings in the duct system, including grilles, registers, and diffusers, using duct tape. Ensure that all access panels are properly sealed.
2. Connect the Duct Blaster or Blower Door:
If using a duct blaster, connect it to the duct system at a central return or an air handler. If using a blower door fan, connect it to a door or another opening using an airtight seal.
Make sure the fan is set up to pressurize the duct system.
3. Set Up Pressure Pans:
If using a blower door, set up pressure pans over the supply and return registers. Pressure pans are used to measure the pressure in the ducts.
4. Turn on the Fan:
Turn on the fan or blower door equipment and pressurize the duct system. Note the pressure readings on the manometer.
5. Monitor Pressure and Inspect Ducts:
Monitor the pressure readings and inspect the duct system for visible leaks. You may use a smoke pencil or other smoke-producing devices to help identify air leaks.
6. Record Results:
Record pressure readings and document any observed leaks. Pay attention to pressure variations, as they can indicate the presence and severity of leaks.
7. Seal Identified Leaks:
Use mastic or other approved sealants to seal any leaks identified during the test.
8. Re-Test if Necessary:
After sealing the leaks, you may need to re-test the system to ensure that the leaks have been adequately addressed.
Tips and Precautions:
Follow safety guidelines and procedures when working with electricity and HVAC systems.
Perform the test during relatively calm weather conditions to minimize the impact of external pressure changes.
Consult with a professional HVAC technician if you are not comfortable or experienced in performing these tests.
Remember that if you’re not confident in conducting a pressure test yourself, it’s advisable to hire a professional HVAC technician who has experience in performing these tests and can accurately diagnose and address any issues with your AC ducts.
Sealing Leaks with HVAC Foil Tape
Sealing AC duct leaks with HVAC foil tape is a common and effective method to improve the efficiency of your heating, ventilation, and air conditioning (HVAC) system. Here’s a step-by-step guide on how to use HVAC foil tape to seal duct leaks:
Materials Needed:
1. HVAC foil tape (aluminum foil tape with a strong adhesive backing)
2. Utility knife or scissors
3. Clean rag or cloth
4. HVAC foil tape roller (optional, but can make the job easier)
Procedure:
1. Locate the Leaks:
Turn on your HVAC system and feel for air leaks along the ductwork. Common areas for leaks include joints, seams, and connections.
Use your hand to feel for drafts or use a smoke pencil to visually detect airflow.
2. Clean the Surface:
Wipe the area around the leak with a clean rag to remove any dust, dirt, or grease. A clean surface ensures better adhesion of the tape.
3. Cut the Tape:
Use a utility knife or scissors to cut a piece of HVAC foil tape. Ensure that the tape is long enough to cover the leak and extend a few inches on each side for proper sealing.
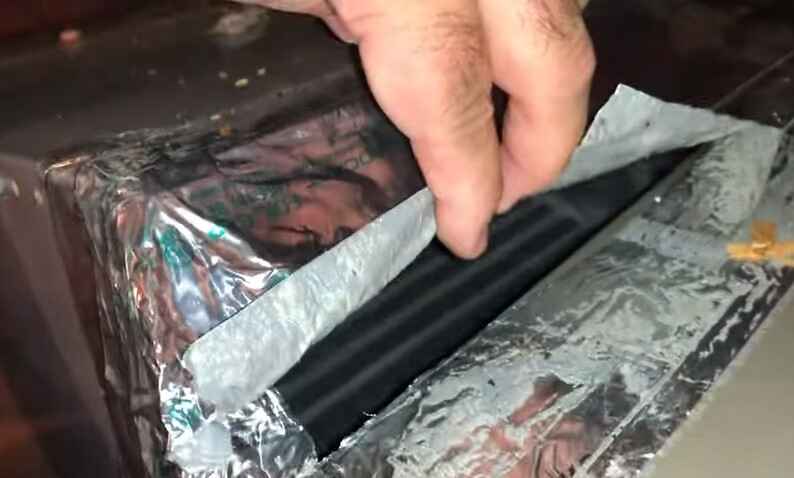
4. Apply the Tape:
Carefully place the tape over the leak, starting from one end and pressing it down firmly as you go. Make sure to cover the entire leak and extend the tape beyond the edges.
5. Smooth the Tape:
Use your fingers or a HVAC foil tape roller to smooth out the tape, ensuring good contact with the duct surface. This helps to create a tight seal.
6. Repeat as Needed:
Check for additional leaks along the ductwork and repeat the process as necessary. It’s essential to address all leaks to maximize energy efficiency.
7. Inspect Regularly:
Periodically inspect your ductwork for new leaks or any signs of tape deterioration. Address any issues promptly to maintain the effectiveness of the seal.
8. Consider Professional Help:
If your ductwork has significant leaks or if you’re uncomfortable performing the sealing yourself, consider hiring a professional HVAC technician to assess and address the issues.
Remember that while HVAC foil tape is effective for small to moderate leaks, larger gaps or damaged ducts may require more extensive repairs or replacement. Regular maintenance of your HVAC system, including duct inspection and sealing, can contribute to energy efficiency and better indoor air quality.
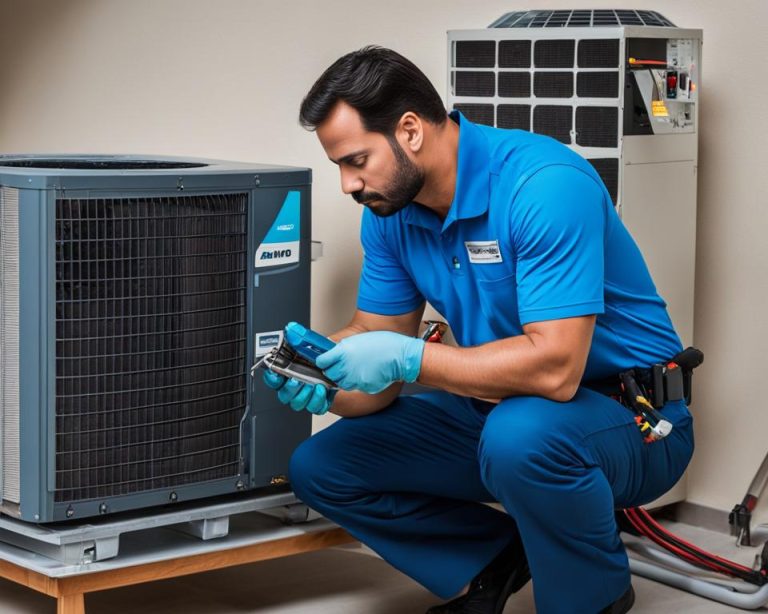
Professional Inspection and Repair
Maintaining a well-functioning HVAC system is crucial for a comfortable indoor environment. This guide outlines a step-by-step process for hiring a qualified HVAC professional to inspect and repair AC ducts for leaks, ensuring optimal performance and energy efficiency.
1. Research and Select a Qualified HVAC Professional:
Start by researching local HVAC professionals with a focus on duct inspection and repair. Look for companies with positive reviews, relevant experience, and a solid reputation for quality service.
2. Contact HVAC Companies:
Reach out to selected HVAC companies to discuss your needs. Inquire about their expertise in AC duct inspection and repair, availability, and any initial information they may require from you.
3. Request a Quote:
Ask for detailed quotes from the shortlisted companies. A comprehensive quote should include the cost breakdown for inspection, potential repairs, and any additional fees. Compare these quotes to make an informed decision.
4. Check for Certification and Insurance:
Ensure the HVAC professionals are certified and licensed to perform inspection and repair services. Additionally, verify their insurance coverage to protect against any damages that might occur during the inspection or repairs.
5. Discuss the Inspection Process:
Engage in a detailed discussion with the HVAC professionals about their inspection process. Seek clarity on the methods they use, the equipment involved, and the estimated time required for a thorough examination of the AC ducts.
6. Repair Options:
Upon identifying leaks during the inspection, discuss the repair options with the HVAC professionals. Understand the nature of the repairs needed, the materials they will use, and the expected timeline for completion.
7. Schedule the Inspection and Repairs:
Once satisfied with a specific HVAC company, schedule the inspection and potential repairs. Choose a convenient time that aligns with your availability and allows for a comprehensive examination and swift resolution of any issues.
8. Prepare the Area for Inspection:
Before the scheduled inspection, prepare the area around the AC system. Clear any obstructions and ensure easy access to the ductwork. This not only facilitates a smoother inspection process but also ensures the HVAC professionals can work efficiently.
9. Ask for Documentation:
Request documentation of the inspection findings and the repairs performed. This documentation is valuable for future reference and can be essential for warranty claims or potential resale of the property. It also demonstrates transparency and accountability.
10. Regular Maintenance:
After the inspection and repairs, commit to regular HVAC system maintenance. Follow the recommended maintenance schedule provided by the HVAC professionals. This preventive approach helps identify potential issues before they escalate, ensuring the long-term efficiency of your AC system.
Investing in professional inspection and repair of AC ducts is a proactive step towards maintaining an efficient HVAC system. By following these outlined steps, you can navigate the process seamlessly, ensuring comfort, energy efficiency, and longevity for your home or business environment.
Preventive Maintenance Tips
Preventing AC duct leaks is essential for maintaining the efficiency and effectiveness of your air conditioning system. Here are some preventive maintenance tips to help you avoid duct leaks:
1. Regular Inspections:
Conduct regular visual inspections of your AC ducts to check for signs of wear and tear, such as visible gaps, holes, or disconnected sections.
Look for any areas where the duct insulation may be damaged.
2. Seal Joints and Connections:
Ensure that all joints and connections in the ductwork are properly sealed. Use mastic sealant or foil tape to seal any gaps or seams.
Pay extra attention to areas where ducts connect to vents, registers, and the main HVAC unit.
3. Insulate Ducts:
Proper insulation helps prevent condensation on the ductwork, reducing the risk of leaks. Make sure that the insulation is intact and covers the entire length of the ducts.
Replace or repair damaged insulation promptly.
4. Maintain Adequate Support:
Provide proper support for the ductwork to prevent sagging or bending. Use hangers or other appropriate support structures to keep the ducts in place.
Avoid placing heavy objects on or hanging items from the ducts.
5. Keep the Area Clean:
Remove debris, dust, and other particles from around the ducts to prevent damage. Accumulated debris can cause wear on the duct surface and potentially lead to leaks.
6. Ensure Proper Installation:
During installation or any modifications to the HVAC system, make sure that the ducts are installed correctly and securely connected.
Hire a professional HVAC technician to perform installations and modifications.
7. Control Humidity Levels:
High humidity can lead to condensation on the ductwork, potentially causing leaks. Use a dehumidifier if necessary to maintain optimal humidity levels.
8. Schedule Professional Inspections:
Have your HVAC system and ductwork inspected by a professional at least once a year. A trained technician can identify potential issues and address them before they become major problems.
9. Properly Size Ductwork:
Ensure that the ductwork is appropriately sized for your HVAC system. Improperly sized ducts can lead to pressure imbalances, which may contribute to leaks.
10. Address Leaks Promptly:
If you discover any leaks or damage during your inspections, address them promptly. Repairing small issues early can prevent them from becoming larger, more costly problems.
Remember that preventive maintenance is key to avoiding AC duct leaks. Regular attention to your HVAC system can help keep it running efficiently and extend its lifespan. If you’re not comfortable performing these tasks yourself, consider hiring a professional HVAC technician for a thorough inspection and maintenance.
Conclusion
In conclusion, ensuring the efficiency of your HVAC system is crucial for both comfort and energy savings. Regularly checking your AC ducts for leaks is a simple yet impactful maintenance task. By following the steps outlined in this guide, you can identify and address potential leaks, ultimately optimizing your system’s performance. A well-maintained ductwork not only improves air quality but also contributes to lower energy bills. Stay proactive in inspecting and sealing any leaks to enjoy a comfortable and cost-effective indoor environment year-round. Your efforts in maintaining leak-free AC ducts will pay off in enhanced performance and prolonged system lifespan.
20 Comments