To troubleshoot AC not cooling after filter change, first ensure the filter is properly installed. Check for any blockages or debris around vents. If issues persist, contact a professional HVAC technician for further diagnosis and repair.
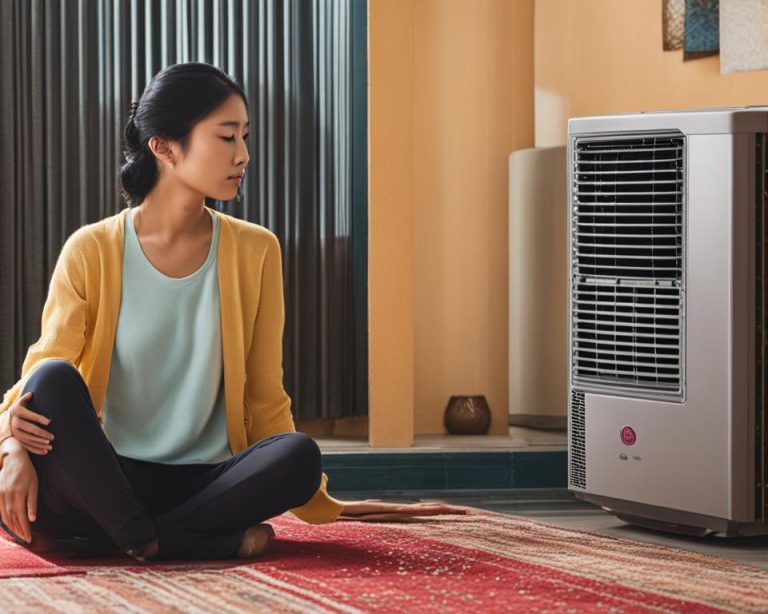
Is your AC not cooling after a filter change? Don’t panic, you’re not alone. Many homeowners encounter this frustrating issue, especially when they’re new to HVAC maintenance. In this beginner-friendly guide, we’ll explore why your AC might be misbehaving after a seemingly simple filter swap. From common mistakes to troubleshooting tips, we’ve got you covered. Let’s dive into the world of AC maintenance and unravel the mystery behind why your system isn’t cooling as expected post-filter change.
AC Not Cooling After Filter Change: Unraveling the Potential Causes
If you’ve recently changed the air filter in your air conditioning unit and noticed that it’s not cooling as effectively as before, you’re not alone. This issue, commonly referred to as AC Not Cooling After Filter Change, can be frustrating and concerning. However, understanding the potential causes can help you troubleshoot and resolve the problem more efficiently.
1. Improper Filter Installation
One of the most common reasons for an AC not cooling after filter change is an improperly installed filter. If the filter is not securely fitted into its designated slot, it can cause air leaks and disrupt the airflow, resulting in reduced cooling efficiency. Ensure that the filter is inserted correctly and tightly secured in place.
2. Dirty Condenser Coils
Even after changing the air filter, your AC not cooling after filter change could be due to dirty condenser coils. These coils, located in the outdoor unit, are responsible for dissipating heat from the refrigerant. Over time, they can accumulate dirt, dust, and debris, reducing their ability to effectively transfer heat. Cleaning the condenser coils can help restore the AC’s cooling performance.
3. Refrigerant Leaks
If your AC not cooling after filter change persists, it could be a sign of a refrigerant leak. Refrigerant is the lifeblood of your air conditioning system, and any leaks can significantly impact its cooling capacity. A qualified HVAC technician can detect and repair refrigerant leaks, ensuring that your AC operates at optimal efficiency.
4. Faulty Compressor
The compressor is a vital component of your AC system, responsible for circulating the refrigerant through the system. If the compressor is failing or has malfunctioned, it can lead to an AC not cooling after filter change. Compressor issues often require professional repair or replacement, as they are complex and costly components.
5. Frozen Evaporator Coils
In some cases, an AC not cooling after filter change could be due to frozen evaporator coils. These coils are located in the indoor unit and are responsible for absorbing heat from the air. If the coils become frozen, it can restrict airflow and prevent proper cooling. Thawing the coils and addressing the root cause, such as low refrigerant levels or a blocked air filter, can help resolve this issue.
6. Thermostat Problems
If your AC not cooling after filter change is accompanied by inconsistent temperature regulation, the issue could lie with the thermostat. A faulty or miscalibrated thermostat can prevent the AC from cycling on and off correctly, leading to inadequate cooling. Checking the thermostat’s settings and replacing the batteries (if applicable) may solve the problem.
7. Ductwork Issues
Leaks or obstructions in the ductwork can also contribute to an AC not cooling after filter change. Damaged or poorly insulated ducts can cause cool air to escape, reducing the overall cooling efficiency of your system. Inspecting and sealing any leaks or clearing any blockages in the ductwork can help improve airflow and cooling performance.
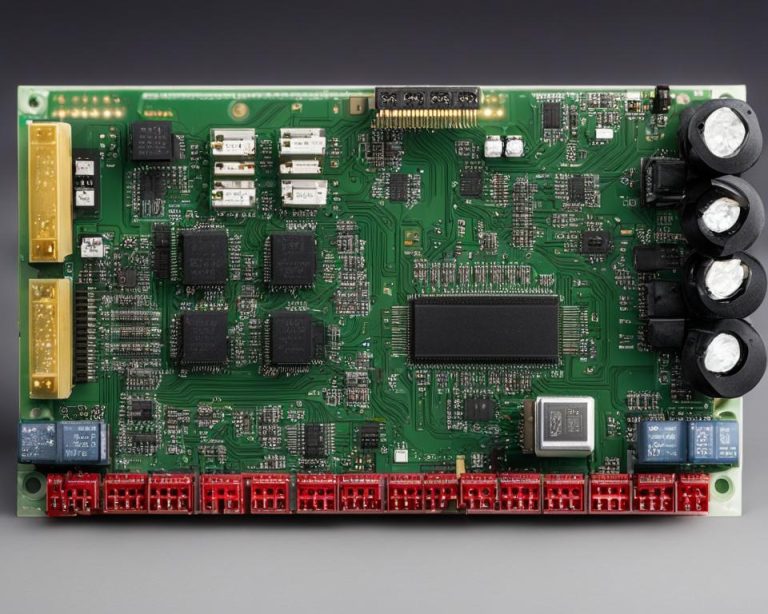
8. Electrical Problems
Your AC system relies on various electrical components, such as the compressor, fan motors, and control boards. If any of these components are malfunctioning or experiencing electrical issues, it can lead to an AC not cooling after a filter change. Checking the electrical connections, fuses, and circuit breakers can help identify and resolve any potential electrical problems.
9. Age of the AC System
As AC systems age, their efficiency and performance can gradually decline. If your AC not cooling after filter change issue persists despite troubleshooting efforts, it could be a sign that your system is nearing the end of its lifespan. In such cases, replacing the entire AC system with a newer, more energy-efficient model may be the most cost-effective solution in the long run.
10. Improper AC Unit Size
If your AC unit is not properly sized for the space it’s meant to cool, it can lead to an AC not cooling after the filter change situation. An undersized unit will struggle to cool the area effectively, while an oversized unit will cycle on and off too frequently, leading to inefficient operation and potential cooling issues.
Addressing an AC not cooling after filter change promptly is crucial to prevent further damage to your system and ensure optimal comfort levels in your living or working space. If you’ve tried basic troubleshooting steps and the issue persists, it’s recommended to seek professional assistance from a licensed HVAC technician. They have the expertise and tools to diagnose and resolve complex AC issues, ensuring your system operates at peak efficiency and provides reliable cooling when you need it most.
Steps to Resolve AC Not Cooling After Filter Change
Is your AC not cooling after a filter change? It’s a common issue that can occur due to various reasons. However, there’s no need to panic. Follow these 10 steps to troubleshoot and resolve the problem effectively.
Step 1: Check Air Filter Installation
Ensure that the air filter is correctly installed after the replacement. Sometimes, improper installation can obstruct airflow, leading to reduced cooling efficiency. If the filter is not properly seated or if there are any gaps around it, it can allow unfiltered air to bypass the system, causing issues with cooling. This is a common reason why your AC might not be cooling after a filter change.
Step 2: Verify Filter Compatibility
Confirm that the replacement filter is compatible with your air conditioning system. Using the wrong type or size of filter can restrict airflow and hinder the cooling process. If the filter is too dense or not designed for your specific AC model, it can impede the airflow, resulting in poor cooling performance, especially after a filter change.
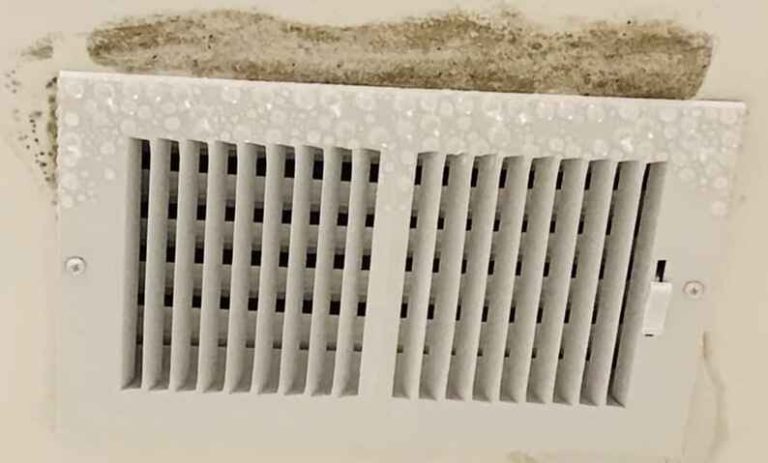
Step 3: Check for Airflow Restrictions
Inspect the area around the air intake for any obstructions that could be restricting airflow to the system. Furniture, curtains, or other objects blocking vents or registers can hinder the air circulation, causing the AC not to cool effectively after a filter change. Ensure that there are no obstacles within the vicinity of the air intake or vents.
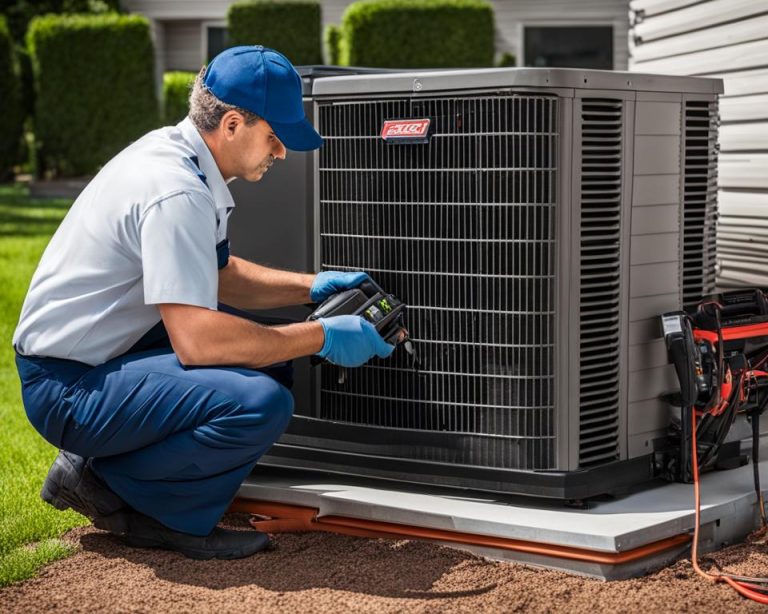
Step 4: Examine the Condenser Unit
Inspect the outdoor condenser unit to ensure it is free from debris such as dirt, leaves, or grass clippings. A dirty condenser can impede the release of heat from the refrigerant, reducing the overall cooling capacity of the system. Clean the condenser unit thoroughly to allow proper heat exchange and enhance cooling efficiency, especially following a filter replacement.
Step 5: Check for Refrigerant Leaks
Inspect the refrigerant lines and connections for any signs of leaks. A refrigerant leak can result in decreased cooling performance as the system struggles to maintain the desired temperature. If you notice hissing sounds, oily residue, or ice buildup on the refrigerant lines, it could indicate a leak that needs to be repaired by a professional HVAC technician.
Step 6: Reset the System
Reset the air conditioning system to ensure it is operating correctly after the filter change. Turn off the power to the AC unit at the thermostat and the circuit breaker. Wait for a few minutes before turning the power back on. This reset allows the system to recalibrate and can sometimes resolve issues with cooling performance, especially if they occurred immediately after a filter change.
Step 7: Monitor Thermostat Settings
Check the thermostat settings to ensure they are configured correctly for cooling mode and the desired temperature. Incorrect thermostat settings can prevent the AC from cooling effectively, even after a filter change. Make sure the thermostat is set to cool mode and the temperature is set lower than the current room temperature to activate the cooling cycle.
Step 8: Allow Time for Cooling
Give the air conditioning system some time to cool the space adequately after the filter change. It may take a while for the temperature to reach the set point, especially if the AC has been off for an extended period or if the outdoor temperature is exceptionally high. Patience is essential, and if the cooling issue persists, further troubleshooting may be necessary.
Step 9: Check for System Faults
Inspect the AC system for any fault codes or error indicators that could point to underlying issues. Modern HVAC systems are equipped with diagnostic features that can identify problems with components such as sensors, motors, or control boards. Refer to the manufacturer’s manual or contact a qualified technician to diagnose and address any system faults affecting cooling performance after a filter change.
Step 10: Seek Professional Assistance
If the AC continues to experience cooling issues after performing the above steps, it’s advisable to seek professional assistance from a licensed HVAC technician. They have the expertise and specialized tools to diagnose and repair complex problems with the air conditioning system. Whether it’s a refrigerant leak, compressor malfunction, or electrical issue, a qualified technician can identify the root cause and implement the necessary repairs to restore optimal cooling performance after a filter change.
Conclusion
In conclusion, if you’re experiencing your AC not cooling after a filter change, don’t panic. This common issue can often be resolved with a few simple steps. Start by double-checking the filter installation to ensure it’s properly seated and clean. Next, inspect the outdoor unit for any debris or obstructions that may be hindering airflow. If the problem persists, it’s wise to seek professional help to diagnose any underlying issues with your system. Remember, regular maintenance, including filter changes, is essential for optimal AC performance. By staying proactive and addressing problems promptly, you can keep your home cool and comfortable year-round.